If you’ve ever walked into Michaels and found yourself “accidentally” buying more fabric, this one’s for you. In this tutorial, Sherry from Sherika Originals walks you through how to turn small pieces of fabric, leather, or even paper into vibrant, one-of-a-kind earrings. Whether you’re crafting for fun, for gifts, or for your Etsy shop, this is an easy way to elevate your jewelry-making game.
Materials You’ll Need
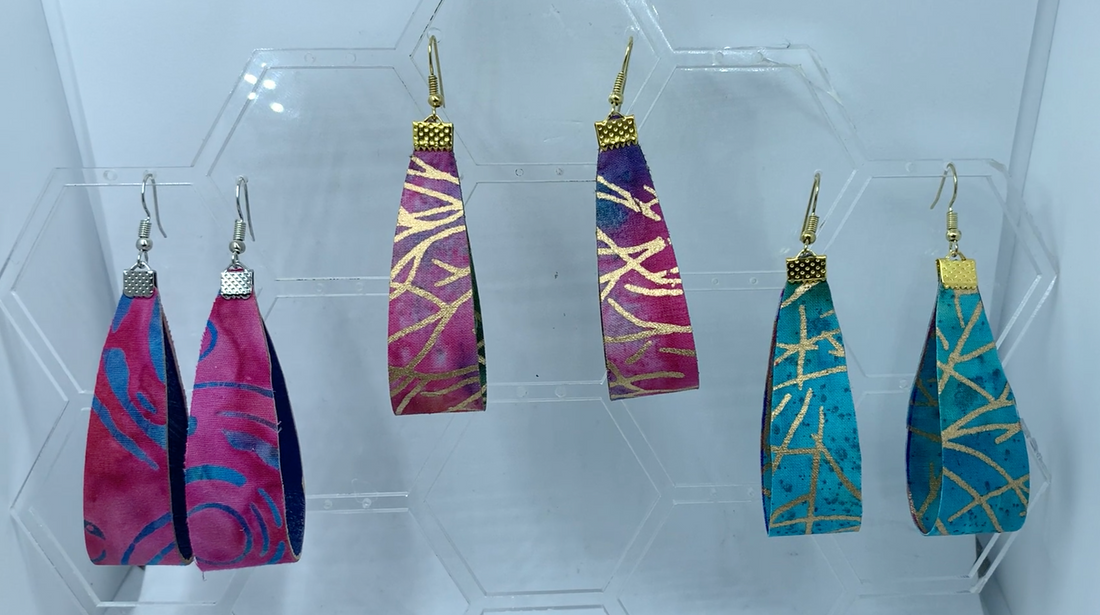
- Sherika Originals Acrylic Earring Template → [Shop the Template]
- Thin veg-tanned leather
- Fabric scraps (batiks or other colorful patterns)
- Aleene’s Fabric Fusion (for leather-to-fabric bonding)
- Mod Podge (for paper variation)
- Cardstock (for the fabric + paper option)
- Cobra Color leather paints (optional)
- Sponge brush or small paintbrush
- Old credit card or squeegee
- Heavy-duty leather scissors
- Book or flat weight (to keep leather flat while drying)
- Hole punch + earring hooks/jump rings
Step 1: Get the Template
A template keeps every pair consistent and mirror-perfect. Order Sherry’s exact design here → [Shop the Acrylic Template].
Step 2: Attach the Fabric
Choose your fabrics! Sherry picked up beautiful batiks from Michaels in bold red, orange, blue, purple, and green.
Cut small rectangles of fabric that are slightly larger than your earring shape. You’ll glue and trim later for clean edges.
Step 3: Cut the Leather
Use your template to trace the earring shape onto thin veg-tanned leather. Cut it carefully with heavy-duty leather scissors.
Tip: The thinner the leather, the more flexible and lightweight the finished earrings will be.
Step 4: Apply Glue Generously
Apply Fabric Fusion glue to the rough/suede side of the leather — not the smooth side.
Use a sponge brush to spread an even coat, especially along the edges.
Make sure you have enough glue to fully bond the fabric — this is what keeps the earrings durable.
Step 5: Attach and Smooth the Fabric
Press your fabric onto the glued leather. Use a credit card or squeegee to push out any wrinkles or air bubbles.
If you spot a corner lifting, lift the fabric slightly, add more glue, and smooth again.
Step 6: Keep the Leather Flat While Drying
Once the fabric is attached and smooth, place a flat object (like a book or cutting board) on top. This keeps the leather flat as it dries and prevents warping.
Let it dry completely before trimming.
Step 7: Paint the Back (Optional but Gorgeous)
While the glue dries, paint the back of the earrings (the smooth leather side) with a complementary color using Cobra Color Leather Paint.
This gives a finished, professional look—especially if your earrings flip when worn.
Step 8: Cut the Final Shapes
When dry, use your template again to trim the fabric and leather layers together.
This ensures perfect symmetry and crisp, professional edges.
Step 9: Fabric + Paper Variation
Want a lighter version? Try the fabric-on-cardstock technique.
-
Cut enough fabric to cover both sides of a piece of cardstock.
-
Brush Mod Podge on both sides of the cardstock.
-
Apply fabric to each side, smooth with your hand or a scraper.
-
Let it dry, then add a second thin coat of Mod Podge on both sides for durability.
-
Once fully dry, use your acrylic template to cut out the shapes.
The result? Paper-based earrings that look like fabric art but weigh almost nothing.
Step 10: Add Hardware
Punch small holes at the top, attach jump rings and earring hooks, and you’re done!
Pro Tips
-
Always glue fabric to the rough leather side for better adhesion.
-
Use weights while drying to keep the leather flat.
-
Apply a final coat of Mod Podge or sealer for shine and longevity.
-
Experiment with different shapes by using the same template as a guide.